
Installing Craft CMS on DigitalOcean
4 min read
Craft has been a delight to configure and use once set up, but can cause a bit of a headache trying to install it on a server running nginx.
This guide will hopefully help you avoid the common pitfalls I've encountered along the way.
Before getting started, the following needs to be set up on your Droplet:
- LEMP (How To Install Linux, Nginx, MySQL, PHP (LEMP stack) on Ubuntu 18.04)
- Nginx with server blocks (How to set up nginx server blocks)
- Phpmyadmin (How to install and secure phpmyadmin on Ubuntu 18.04)
- Composer (> 1.3.0) (How To Install and Use Composer on Ubuntu 18.04)
- An available domain/subdomain
Setting up the nginx server block
Before we install Craft, we'll need to set up the server block by creating a config file for your new site. For all examples below, replace yoursite.com with the domain name (or subdomain) where your Craft site will live.
cd /etc/nginx/sites-available/
touch yoursite.com
sudo nano yoursite.com
In your nano editor, we'll paste the following and save the file:
server {
  root /var/www/mysite.com/html;
  index index.php index.html index.htm index.nginx-debian.html;

  server_name mysite.com;

  client_max_body_size 100M;

  location / {
    # try_files $uri $uri/ =404;
    try_files $uri $uri/ @rewrites;
    proxy_read_timeout 600s;
  }

  location @rewrites {
    rewrite ^(.*) /index.php?p=$1 last;
    # rewrite ^(/en_gb|de|fr|es)?/(.*)$ $1/index.php?p=$2&$args? la$
  }

  location ~ \.php$ {
    include snippets/fastcgi-php.conf;
    fastcgi_pass unix:/var/run/php/php7.2-fpm.sock;
    fastcgi_param SCRIPT_FILENAME $document_root$fastcgi_script_nam$
    include fastcgi_params;
    fastcgi_read_timeout 300;
  }

  location ~ /\.ht {
    deny all;
  }
}

server {
  listen 80;
  listen [::]:80;
}
Next, we need to create a symlink from sites-available to sites-enabled and restart nginx:
sudo ln -s  /etc/nginx/sites-available/yoursite.com /etc/nginx/sites-enabled/yoursite.com

systemctl restart nginx
If you’re using a subdomain, we’ll need to add an A record for your domain in the Networking section of DigitalOcean’s dashboard.
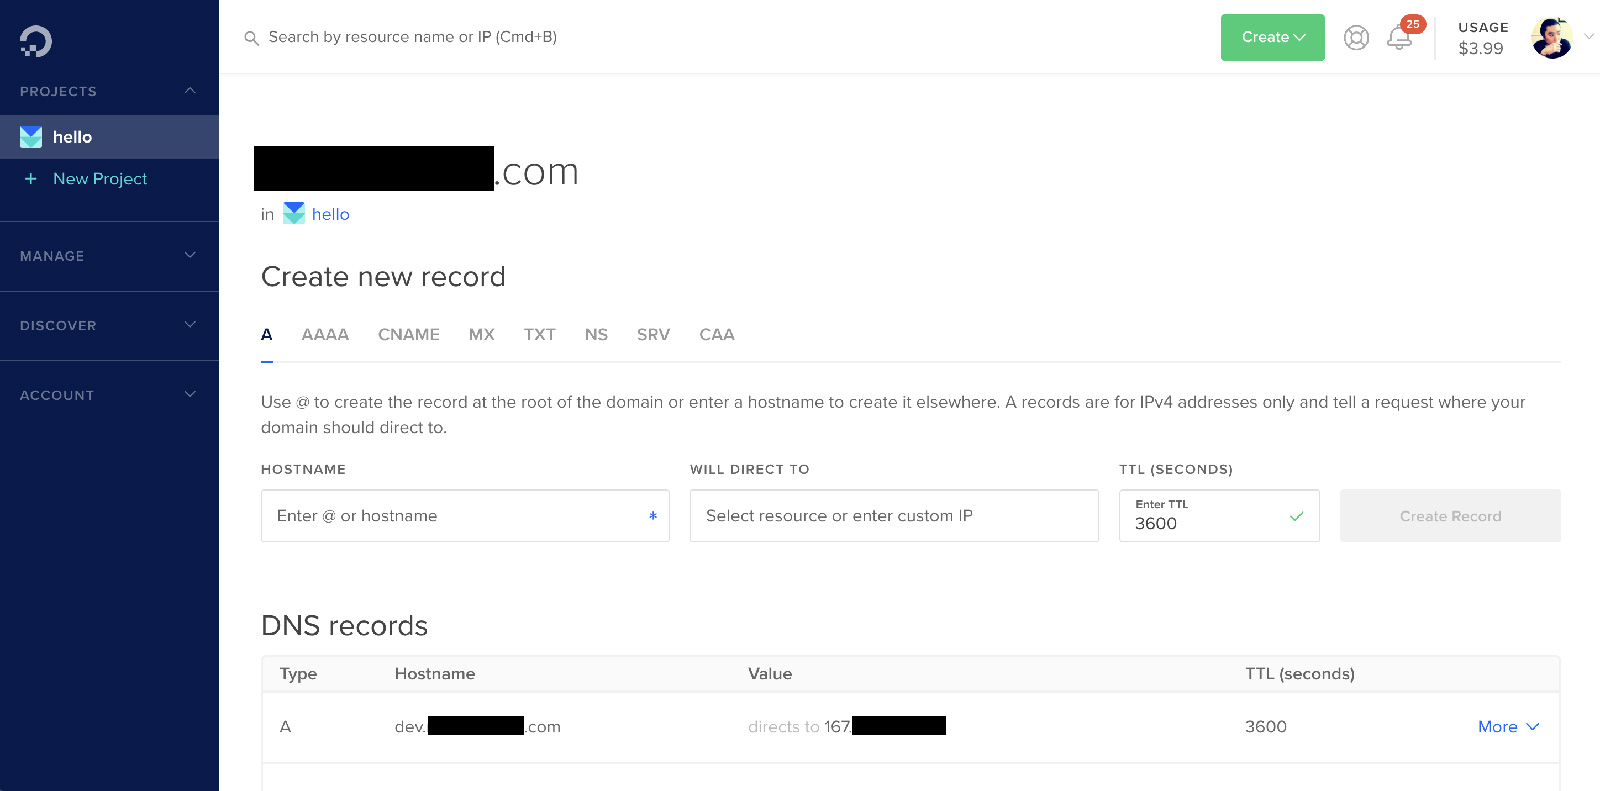
Digital Ocean Networking Screen
To make sure everything is working, let’s upload an index.html file to your web server that has a test message in the body (mysite.com/html/ if you’re following the same structure as I’m using).
If you're able to see the test message load when you go to your site, then we're ready to move onto the next part.
Installing Craft with Composer
Now that the server is set up, we can then install Craft using Composer. Since Composer doesn’t like installing into a folder that has files in it, let’s delete the html folder we'd previously set up for now (the only file in it would have been our test file).
To install Composer, run:
`composer create-project craftcms/craft ./`
Craft has a folder called web that we can rename to html if you’re following the same structure for server blocks that I’m using.
Next, we’ll need to change permissions for the following locations:
chmod -R 744 ./.env
chmod -R 744 ./composer.json
chmod -R 744 ./composer.lock
chmod -R 744 ./config/license.key
chmod -R 744 ./storage/*
chmod -R 744 ./vendor/*
chmod -R 744 ./html/cpresources
We’ll also need to set up a database for Craft to connect to. If you have phpmyadmin set up, setting one up should be quick and easy. The Craft docs recommend the following for a MYSQL database:
- Default Character Set: utf8
- Default Collation: utf8_unicode_ci
Before we start our Craft installation, let's generate a security key:
./craft setup/security-key
We can now run the Craft installer from the command line using:
./craft setup
Enter the corresponding information into the installer, where the output should look like:
Which database driver are you using? [mysql,pgsql,?]: mysql
Database server name or IP address: [localhost]
Database port: [3306]
Database username: [root]
Database password:
Database name: mavenshake-dev
Database table prefix:
Testing database credentials ... success!
Saving database credentials to your .env file ... done

Install Craft now? (yes|no) [yes]:
If you run into any issues, it will most likely be due to owner/group settings, which you can fix by running the following:
chown -R www-data:www-data ./
Loading your site in the browser should show Craft's Welcome screen which mean's our installation was a success!
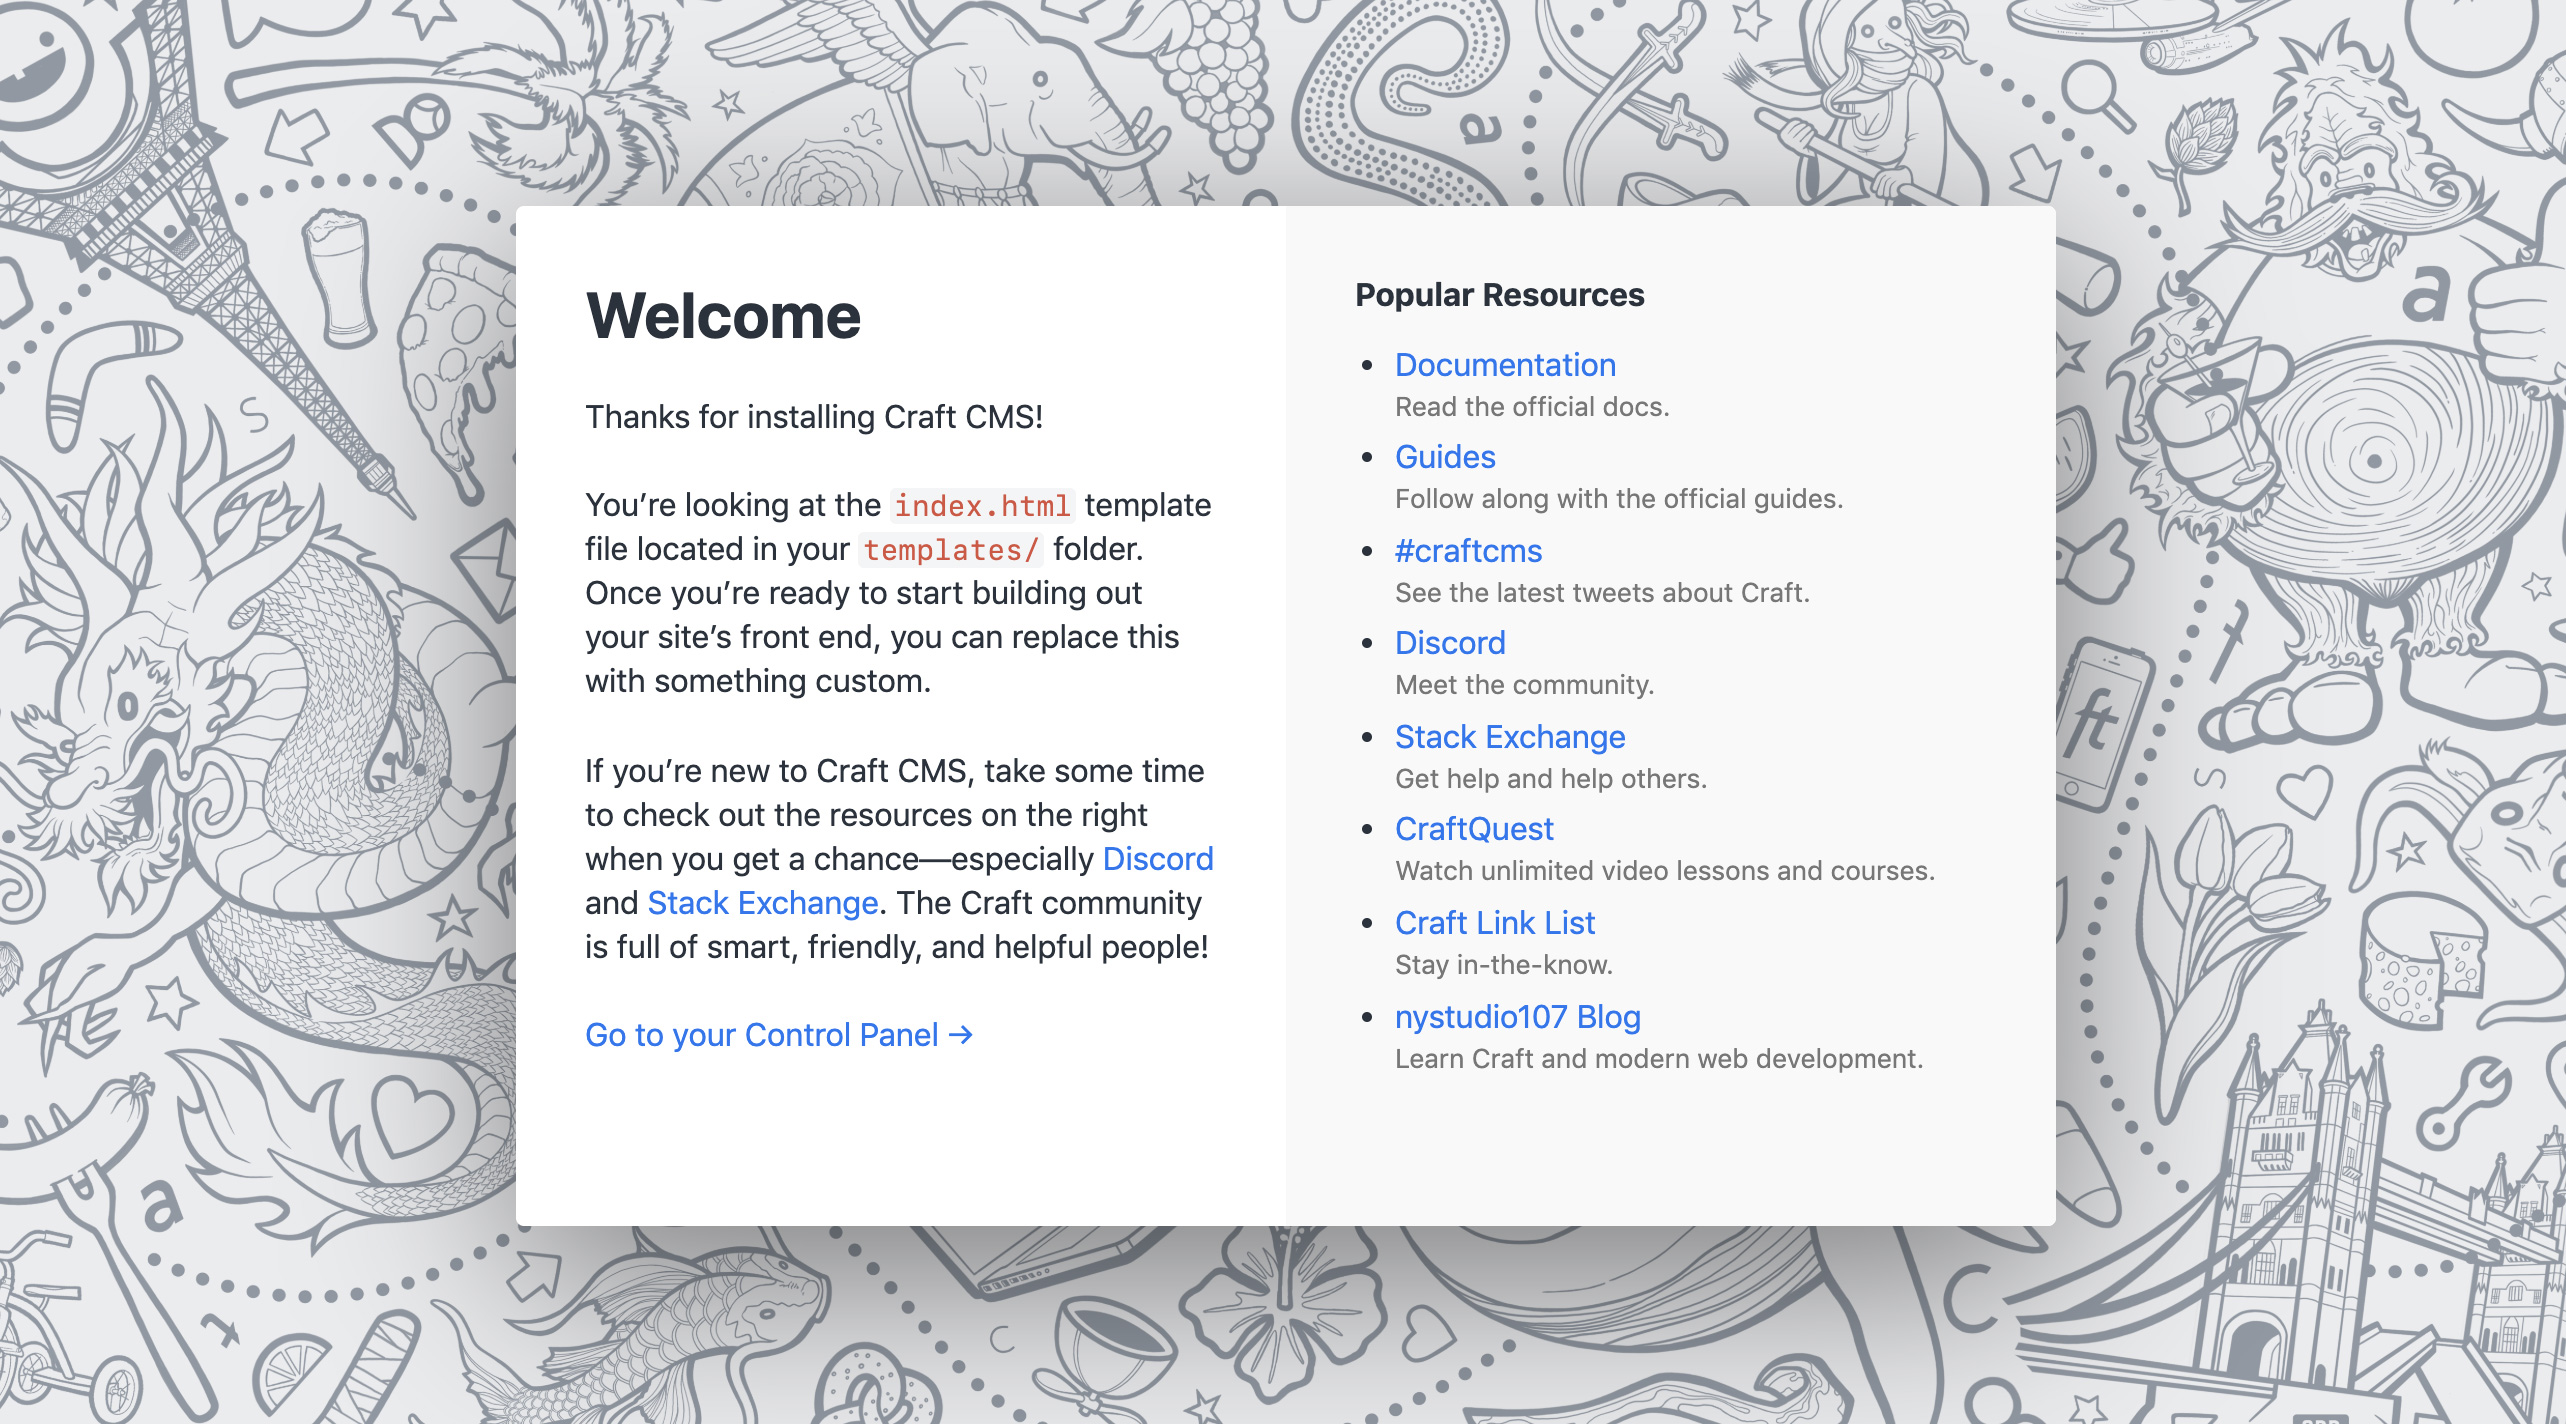
Craft Welcome Screen

Tramp for the Lord
Armed with the gift of their faith and their belief in doing what was right, this devoutly Christian family provided sanctuary for persecuted Jews. Before long, the Nazis captured Corrie and her family and sent them to a concentration camp, where Corrie lost both her sister and father.